Project Description
Tests de cyanotypes
Description fonctionnelle
Depuis quelques années, je m’intéresse à la photographie argentique et aux procédés chimiques qui transforment la lumière en images. Nous connaissons tous les sels d’argent qui sont utilisés en photographie argentique depuis que la photo existe tant au cinéma qu’en photographie, mais le cyanotype est une technique photographique méconnue qui est très facile à réaliser et qui donne des résultats très intéressants. Il faut par contre prendre quelques mesures de sécurité lorsqu’on manipule les produits puisque comme la plupart des produits photosensibles utilisés en photographie, ceux utilisés pour la réalisation de cyanotypes dégagent des vapeurs nocives pour la santé. Donc, on s’installe dans un endroit bien aéré, on met nos lunettes et nos gants afin de minimiser les risques.
Bien qu’il soit moins connu que les sels d’argent pour la photographie, le cyanotype était une technique très populaire pour reproduire des diagrammes et des schémas techniques.. des blueprints.
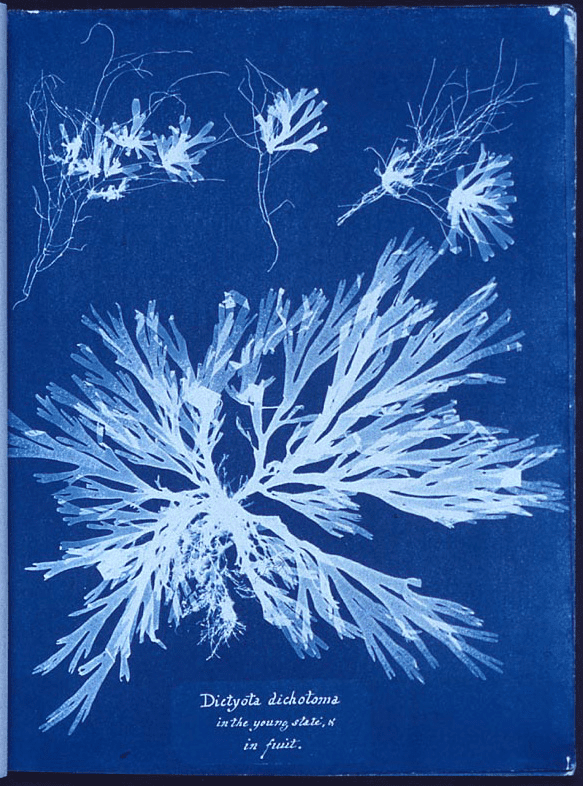
Premier photogramme réalisé en cyanotype par Anna Atkins, botaniste et photographe. c. 1843
Démonstration
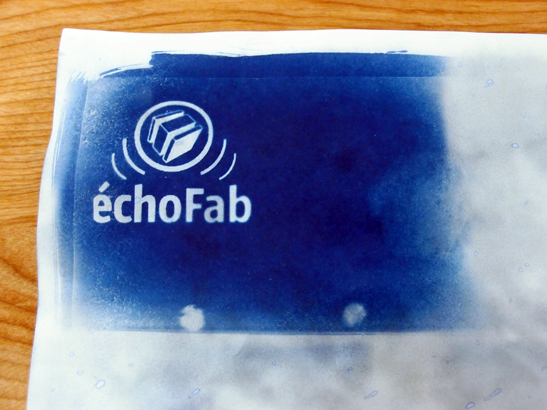
Étapes de réalisation du projet
Pellentesque habitant morbi tristique senectus et netus et malesuada fames ac turpis egestas. Vestibulum tortor quam, feugiat vitae, ultricies eget, tempor sit amet, ante. Donec eu libero sit amet quam egestas semper. Aenean ultricies mi vitae est. Mauris placerat eleifend leo. Quisque sit amet est et sapien ullamcorper pharetra.
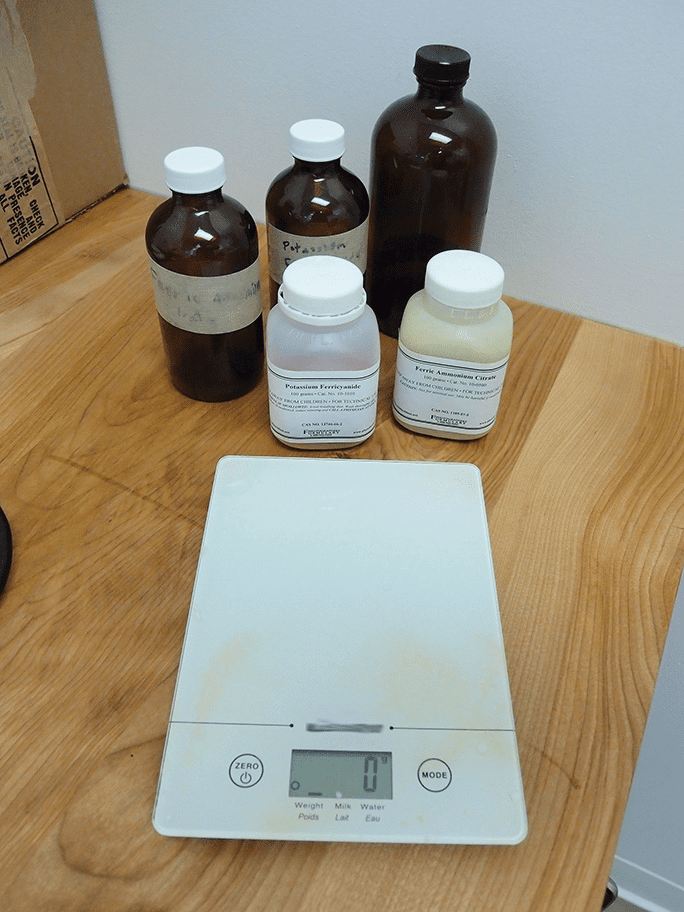
Premièrement, pour créer un cyanotype, on doit préparer une solution à 20% de citrate d’ammonium ferrique et une solution à 8% de ferricyanure de potassium.
Solution de citrate d’ammonium ferrique 20%:
- 100ml d’eau distillée
- 25g de citrate d’ammonium ferrique
Solution de ferricyanure de potassium 8%:
- 100ml d’eau distillée
- 10g de ferricyanure de potassium
Pour mes premiers tests, j’ai divisé les mesures par 10 pour n’obtenir que 20ml de solution finale.
Une fois les deux solutions préparées, on mélange à parts égales afin d’obtenir la quantité désirée pour couvrir la surface sur laquelle on veut appliquer notre cyanotype. Tout devrait être fait dans un environnement sans ou avec très peu de rayonnement ultraviolet.
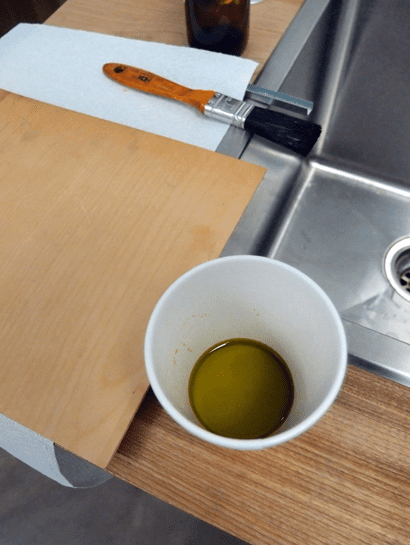
Solution A+B 1:1
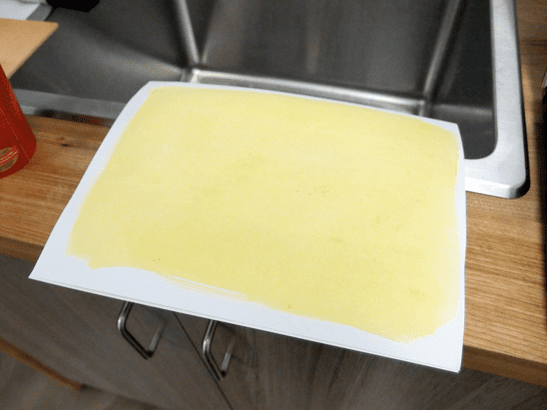
Feuille de papier couverte d’une fine couche de la solution magique
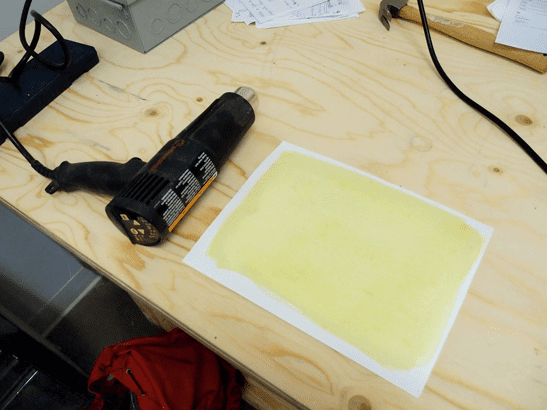
On laisse sécher…
!!!TRÈS IMPORTANT!!!
Sinon notre cyanotype disparait à la fin
Une fois la surface bien sèche, on doit imprimer sur un acétate notre image à transférer en niveaux de gris. La technique crée un négatif de notre image alors on doit inverser les couleurs avant l’impression si l’on veut conserver la luminosité… les blancs (transparent) seront bleu foncé alors que les noirs seront blancs.
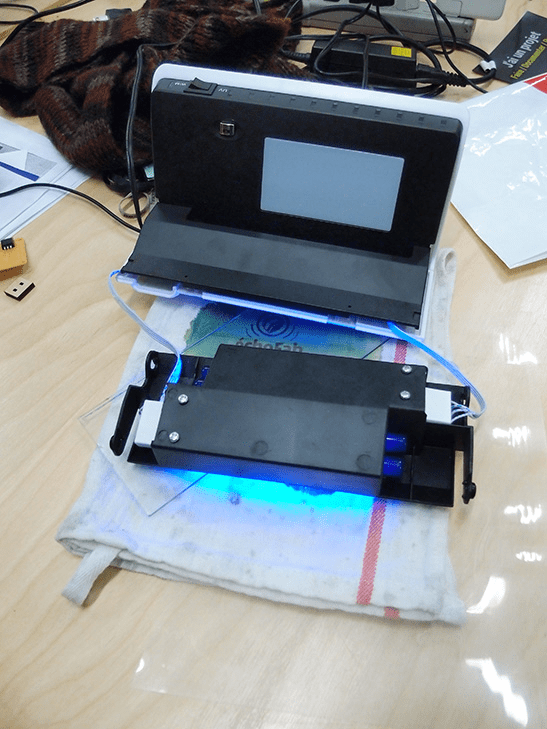
On dépose ensuite notre acétate sur notre surface puis on expose pendant quelques minutes à la lumière ultraviolette. Il est recommandé de déposer une vitre sur l’acétate afin de la maintenir collée à notre surface d’impression.
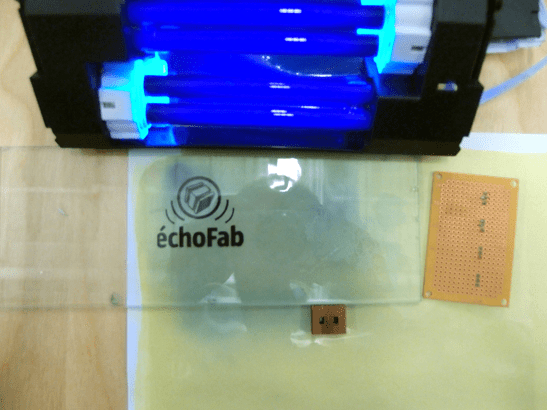
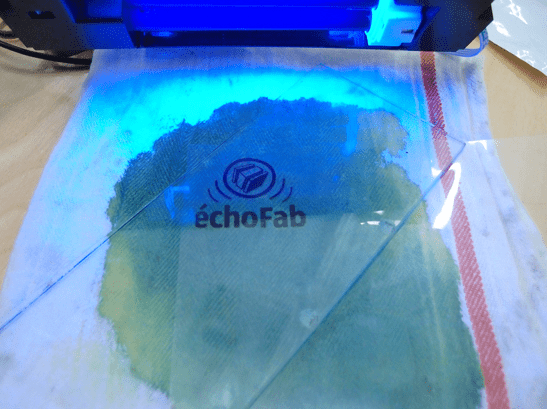
On expose au UV.
Après quelques minutes on peut commencer à voir le bleu apparaitre
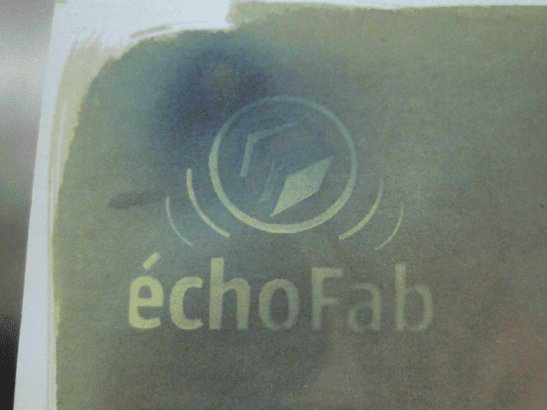
Après environ 15 minutes. (Sous-exposé.. aurait dû l’être 20-30 minutes)
Le temps d’exposition peut varier de 2 minutes à quelques heures selon la puissance de la lumière.. Il faudra donc expérimenter plusieurs temps d’exposition avant d’obtenir les contrastes désirés.
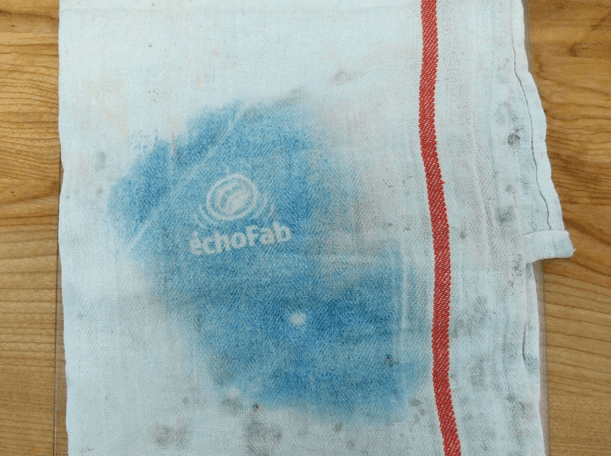
Finalement, le moment magique se produit lorsqu’on met notre cyanotype sous l’eau courante. Le jaune disparait et le bleu double en intensité.

Résultat final bien sec et gondolé
–D’AUTRES TESTS–
Sur tissu
Sur bois
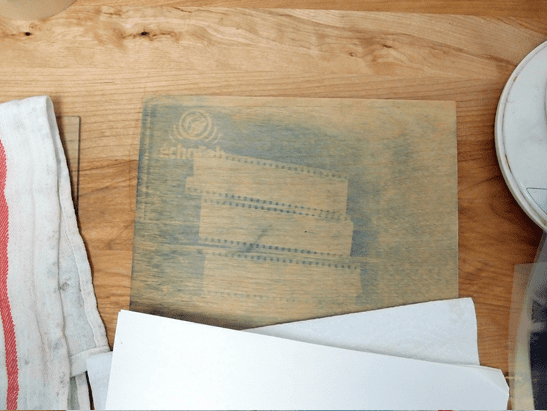
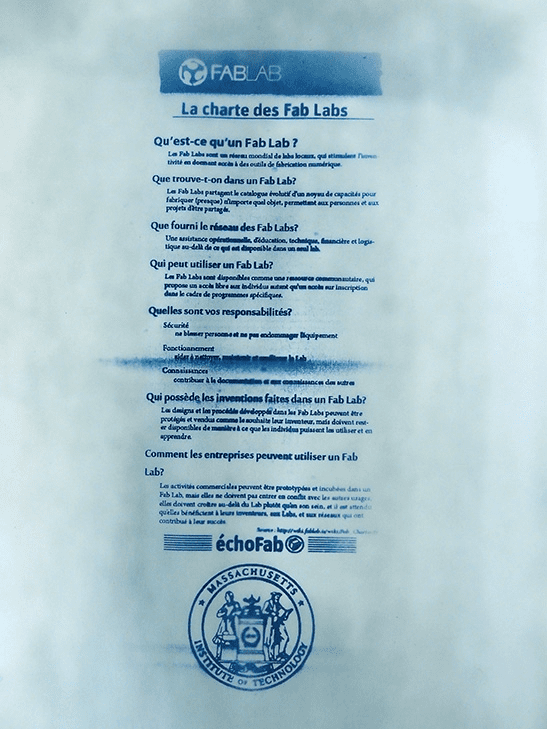
Et la charte des Fab Labs
Matériel requis:
- Balance
- Citrate d’ammonium ferrique
- Ferricyanure de potassium
- Contenants opaques
- Pinceau
- Source de lumière UV (le soleil, lampe de bronzage, détecteur de faux billets de banque)
- Acétates
- Imprimante
